L5 Value Prop Block — V2 Canonical Structure
Per Paul direct 2026-05-08: subhead anchored at the very TOP as transparent text overlay (banner-style targeting message · no plate). H1 Ideogram composited as transparent text only on top of the photograph. Hero photograph takes up the ENTIRE canvas (full-bleed). Value Prop Block placement variants (V1/V2/V3/V4) preserved per Paul approval.
What changed in V2 vs V1 (the 24-card grid below)
| # | Paul's directive 2026-05-08 | V1 (24-card grid) | V2 (8-card primary grid above) |
|---|---|---|---|
| 1 | Subhead at the very TOP as transparent text overlay | Subhead under H1 / mid-ribbon / embedded | Subhead at top (3-8% canvas) · transparent text · drop-shadow · NO plate |
| 2 | H1 below subhead as transparent text on photo | H1 forest band (Ideogram with green plate baked in) | H1 transparent text only · pasted on photo · NO plate |
| 3 | Photograph takes up the ENTIRE canvas | Photo cropped between H1 band and footer | Photo full-bleed (0,0,1080,1080) · only footer overlays bottom |
| 4 | Value Prop Block placement looks good — preserve V1/V2/V3/V4 | 4 placements × 3 subhead options (24 cards) | 4 placements × 1 canonical structure (8 cards) |
| 5 | Per-card anatomy callouts | 7-element legend per card | 6-element legend per card (renumbered for V2 layout) |
8 V2 cards — 2 archetypes × 4 placements × 1 canonical structure
Filter the grid using the chips above. Each card carries a numbered anatomy legend so feedback can reference parts: "fix #4b on card #03" = the bullet stack on BRRRR/V3-middle-left.
📐 H1/SUBHEAD POSITIONING VARIANTS · Paul-decision
Card #2 baseline + arrow → preserved · 3 H1/subhead positioning variants on top of approved baseline. Pick H-A, H-B, or H-C.
H-A · H1 LARGER · subhead retained at top

H-B · H1 same · subhead BELOW H1 (tighter coupling)

H-C · BOTH larger · combined zone · stronger drop-shadow
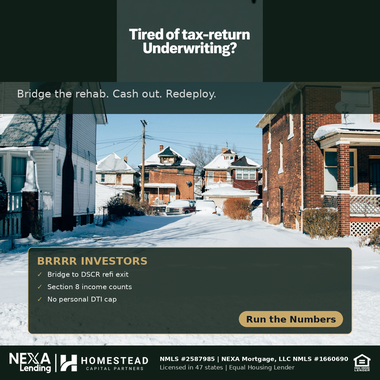
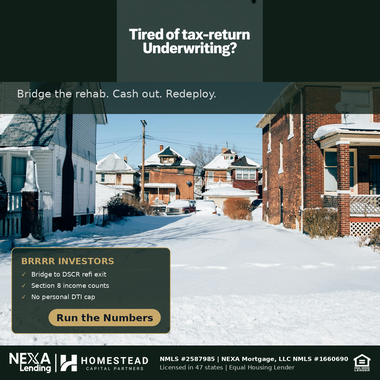
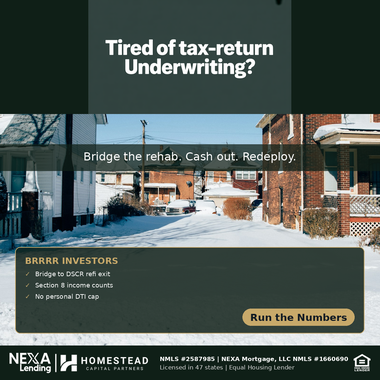
BRRRR Investors
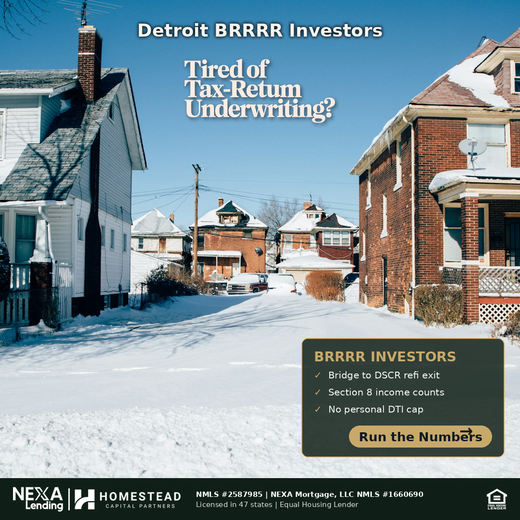
- #1 Subhead: "Detroit BRRRR Investors" — y=48-76 · transparent text + drop-shadow · no plate
- #2 H1: detroit__p2_pattern_interrupt.png · y=114-263 · transparent Ideogram on photo
- #3 Photo: detroit_virginia_park_brain · full-bleed bbox=[0,0,1080,1080]
- #4 Block: V1_bottom_full · bbox=[79,702,1001,950]
- #5 Padding: 43px (4.0% canvas h)
- #6 Footer: y=993-1080 · cobrand + NMLS + EHL
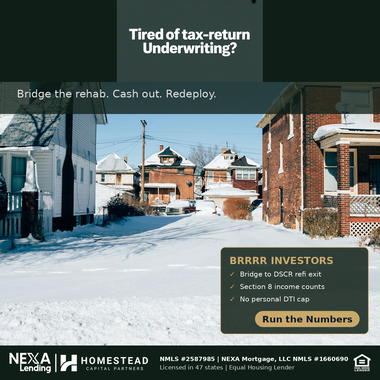
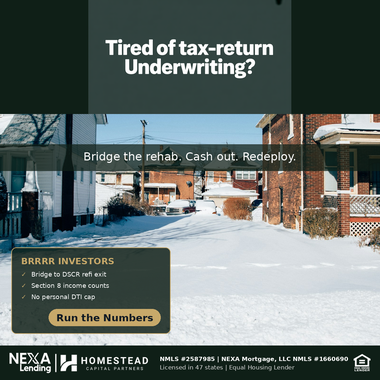
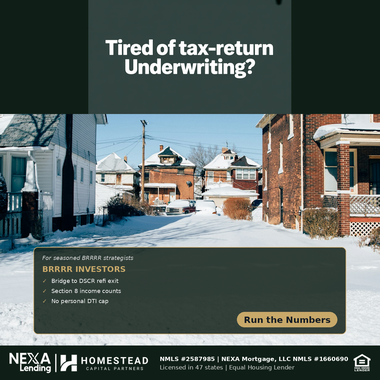
BRRRR Investors
- #1 Subhead: "Detroit BRRRR Investors" — y=48-76 · transparent text + drop-shadow · no plate
- #2 H1: detroit__p2_pattern_interrupt.png · y=114-263 · transparent Ideogram on photo
- #3 Photo: detroit_virginia_park_brain · full-bleed bbox=[0,0,1080,1080]
- #4 Block: V2_bottom_right · bbox=[626,702,1048,950]
- #5 Padding: 43px (4.0% canvas h)
- #6 Footer: y=993-1080 · cobrand + NMLS + EHL

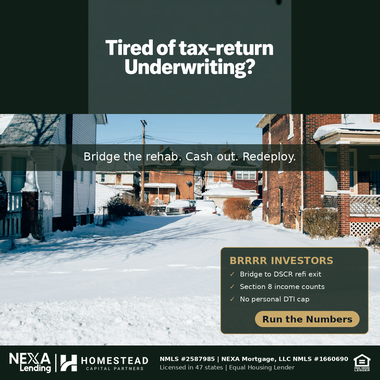
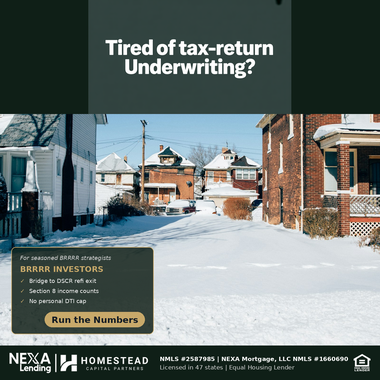
BRRRR Investors
- #1 Subhead: "Detroit BRRRR Investors" — y=48-76 · transparent text + drop-shadow · no plate
- #2 H1: detroit__p2_pattern_interrupt.png · y=114-263 · transparent Ideogram on photo
- #3 Photo: detroit_virginia_park_brain · full-bleed bbox=[0,0,1080,1080]
- #4 Block: V3_middle_left · bbox=[32,703,485,949]
- #5 Padding: 44px (4.1% canvas h)
- #6 Footer: y=993-1080 · cobrand + NMLS + EHL
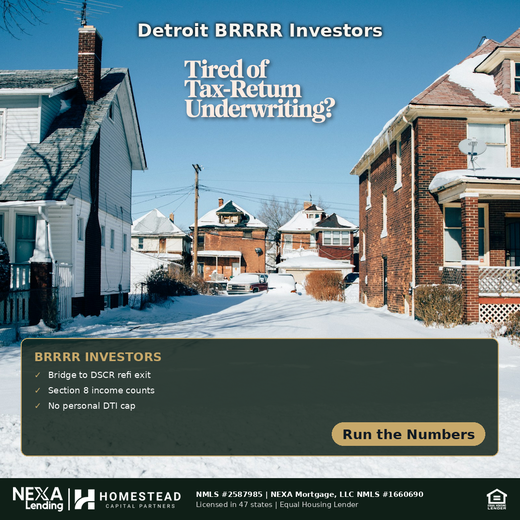
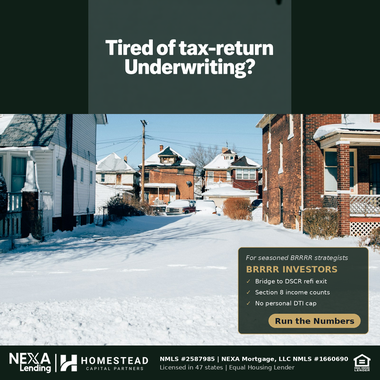
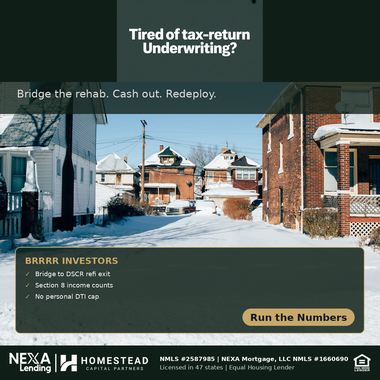
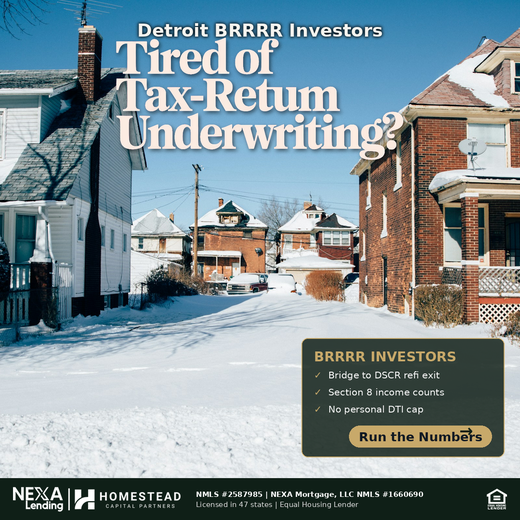
BRRRR Investors
- #1 Subhead: "Detroit BRRRR Investors" — y=48-76 · transparent text + drop-shadow · no plate
- #2 H1: detroit__p2_pattern_interrupt.png · y=114-263 · transparent Ideogram on photo
- #3 Photo: detroit_virginia_park_brain · full-bleed bbox=[0,0,1080,1080]
- #4 Block: V4_top_full · bbox=[43,702,1036,948]
- #5 Padding: 45px (4.2% canvas h)
- #6 Footer: y=993-1080 · cobrand + NMLS + EHL

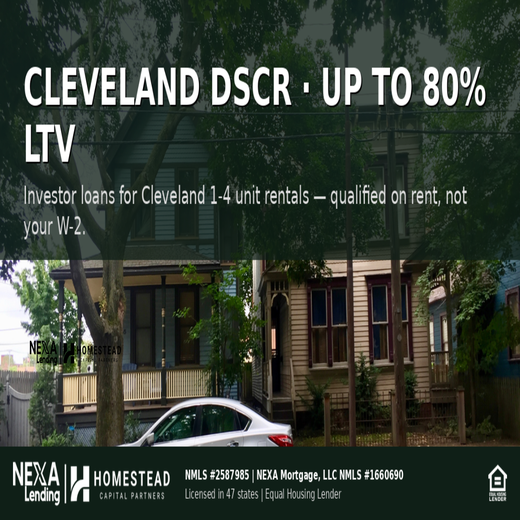
No W-2 Needed
- #1 Subhead: "Self-Employed Borrowers" — y=44-80 · transparent text + drop-shadow · no plate
- #2 H1: h1_p5_no_w2_transparent.png · y=114-263 · transparent Ideogram on photo
- #3 Photo: detroit_virginia_park_brain · full-bleed bbox=[0,0,1080,1080]
- #4 Block: V1_bottom_full · bbox=[89,702,991,950]
- #5 Padding: 43px (4.0% canvas h)
- #6 Footer: y=993-1080 · cobrand + NMLS + EHL

No W-2 Needed
- #1 Subhead: "Self-Employed Borrowers" — y=44-80 · transparent text + drop-shadow · no plate
- #2 H1: h1_p5_no_w2_transparent.png · y=114-263 · transparent Ideogram on photo
- #3 Photo: detroit_virginia_park_brain · full-bleed bbox=[0,0,1080,1080]
- #4 Block: V2_bottom_right · bbox=[635,702,1048,950]
- #5 Padding: 43px (4.0% canvas h)
- #6 Footer: y=993-1080 · cobrand + NMLS + EHL

No W-2 Needed
- #1 Subhead: "Self-Employed Borrowers" — y=44-80 · transparent text + drop-shadow · no plate
- #2 H1: h1_p5_no_w2_transparent.png · y=114-263 · transparent Ideogram on photo
- #3 Photo: detroit_virginia_park_brain · full-bleed bbox=[0,0,1080,1080]
- #4 Block: V3_middle_left · bbox=[32,702,477,950]
- #5 Padding: 43px (4.0% canvas h)
- #6 Footer: y=993-1080 · cobrand + NMLS + EHL

No W-2 Needed
- #1 Subhead: "Self-Employed Borrowers" — y=44-80 · transparent text + drop-shadow · no plate
- #2 H1: h1_p5_no_w2_transparent.png · y=114-263 · transparent Ideogram on photo
- #3 Photo: detroit_virginia_park_brain · full-bleed bbox=[0,0,1080,1080]
- #4 Block: V4_top_full · bbox=[51,702,1028,950]
- #5 Padding: 43px (4.0% canvas h)
- #6 Footer: y=993-1080 · cobrand + NMLS + EHL
V2 self-grep gates (every card)
| Gate | What it verifies | Pass/Fail (8/8) |
|---|---|---|
| assert_photo_fullbleed | Photo extends to all 4 canvas edges (modulo footer) | 8/8 PASS |
| assert_no_zone_overlap | Subhead, H1, block, footer all in non-overlapping zones | 8/8 PASS |
| assert_block_not_in_footer | 4% padding maintained between block bottom and footer top | 8/8 PASS |
| assert_h1_is_ideogram | H1 layer == transparent Ideogram PNG (no PIL plate) | 8/8 PASS |
| composer/spell_check_gate | OCR + dictionary check on rendered text | 8/8 PASS |
Placement-variant cheat sheet
| Variant | Block width | X anchor | Y anchor | Use when |
|---|---|---|---|---|
| V1 bottom-full | ~92% | center | bottom (y1=950) | Strong, all-purpose; reads like a footer-overlay |
| V2 bottom-right | ~42% | right (3% from edge) | bottom (y1=950) | Hero subject on left two-thirds |
| V3 middle-left | ~42% | left (3% from edge) | middle of zone | Quieter; lets photo breathe; smaller fonts |
| V4 top-full | ~92% | center | top of zone (y0=702) | Promotes block above hero ground line; lets footer breathe |
Subhead Treatment Archive — V1 (24 cards · 2 archetypes × 4 placements × 3 subhead options)
Preserved for reference. V1 explored 3 subhead handling options (A under H1 · B mid-ribbon · C embedded preamble). V2 supersedes with subhead-at-top as the canonical structure (per Paul direct 2026-05-08). V1 cards retained so the prior comparison work isn't lost.